
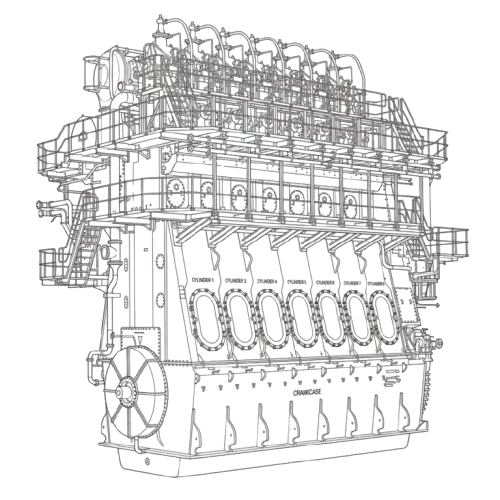

The marine engine connecting rod is a critical component of a marine diesel engine, responsible for transferring force between the piston and crankshaft. It plays an essential role in converting the piston’s reciprocating movement into the rotational motion required to drive the engine.
Marine engines operate under high combustion pressures, continuous mechanical loads, and demanding conditions. Over time, connecting rods and their associated bearings may experience wear, fatigue, misalignment, or damage. Regular inspection and timely replacement are essential to maintaining engine reliability and preventing costly breakdowns.
This guide covers the function, construction, inspection, common failures, and replacement of marine engine connecting rods.
What Is a Marine Engine Connecting Rod?
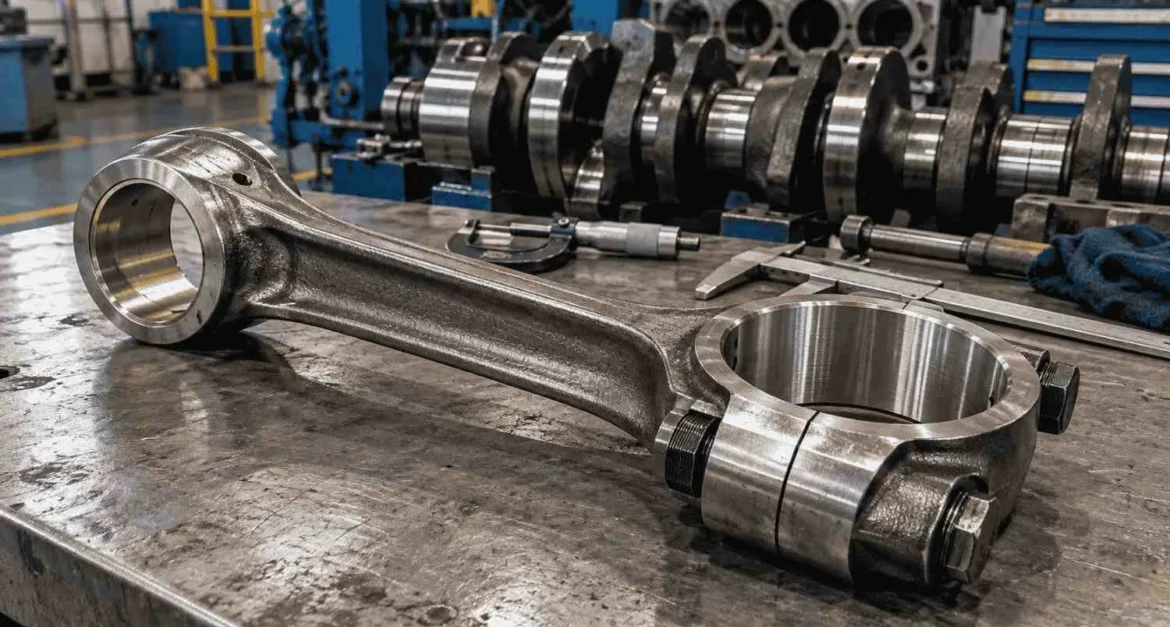
A marine engine connecting rod is a mechanical component that connects the piston assembly to the crankshaft. During combustion, the piston moves downward, and the connecting rod transfers this force to the crankshaft, producing rotational movement.
Connecting rods experience alternating compressive and tensile forces during engine operation. They are typically manufactured from high-strength forged steel to withstand repeated mechanical loading.
The connecting rod arrangement depends on the engine design. In four-stroke trunk-piston engines, the rod connects directly to the piston through a piston pin. In large two-stroke crosshead engines, it connects the crosshead assembly to the crankshaft.
Main Components of a Connecting Rod
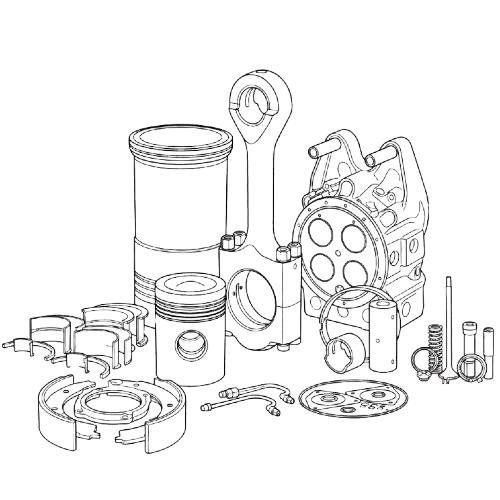
A typical marine engine connecting rod assembly consists of:
- Small End: Connects to the piston pin in trunk-piston engines and may contain a replaceable bush.
- Rod Shank: Transfers mechanical forces between the connecting rod ends.
- Big End: Connects to the crankshaft crankpin through a bearing arrangement.
- Big-End Bearings: Provide a lubricated interface between the connecting rod and crankshaft.
- Connecting Rod Bolts: Secure the big-end cap and maintain the required clamping force.
Each component must maintain correct alignment and dimensional accuracy for reliable engine operation.
In some marine engine applications, connecting rods are supplied with fitted bushes to support the required bearing arrangement. For example, the Hamworthy SF42 connecting rod with bush is a model-specific component that buyers may encounter when sourcing replacement parts. Correct identification of the engine model, part number, and bush dimensions is essential before selecting a replacement.
Importance of Marine Engine Connecting Rod Inspection
Regular marine engine connecting rod inspection helps identify mechanical defects before they develop into serious engine failures.
Connecting rod problems can cause excessive bearing wear, abnormal vibration, crankshaft damage, and potentially catastrophic engine failure.
Inspection intervals depend on the engine manufacturer’s recommendations, operating hours, maintenance history, and engine condition.
1. Visual Inspection
Visual inspection is the first step in evaluating connecting rod condition.
Marine engineers should examine accessible surfaces for:
- Cracks or visible deformation
- Corrosion and surface damage
- Scratches or scoring
- Discoloration caused by possible overheating
- Signs of abnormal mechanical wear
Particular attention should be given to highly stressed areas, including the big-end region, fillet radii, and transitions between sections.
Any suspected structural damage requires further assessment before the connecting rod is returned to service.
2. Big-End Bearing Inspection
The big-end bearing supports the connecting rod’s movement around the crankshaft crankpin.
Inadequate lubrication, excessive loading, or incorrect clearance can cause premature bearing damage.
Common signs include:
- Scoring or scratches
- Uneven bearing wear
- Bearing material fatigue
- Overheating marks
- Embedded metallic particles
Bearing clearance should be measured using the method specified by the engine manufacturer.
Excessive or insufficient clearance can affect lubrication and lead to bearing failure.
3. Small-End Bush Inspection
In trunk-piston marine engines, the small-end bush supports the piston pin.
During inspection, engineers should check for excessive clearance, ovality, scoring, cracks, and lubrication passage blockage.
A worn small-end bush may cause abnormal mechanical noise and uneven loading.
If wear exceeds the manufacturer’s permissible limits, the bush may require replacement.
4. Connecting Rod Alignment Inspection
Connecting rod bending or twisting can affect piston movement and bearing load distribution.
Alignment inspection helps determine whether the connecting rod remains within the manufacturer’s dimensional tolerances.
Possible indications of misalignment include uneven bearing wear, abnormal piston wear, and increased engine vibration.
Connecting rods with excessive deformation should be replaced unless an approved repair procedure is available.
5. Crack Detection
Some connecting rod cracks may not be visible during normal inspection.
Non-destructive testing methods can help identify defects.
Common methods include:
- Magnetic Particle Testing (MPI): Detects surface and near-surface discontinuities in suitable ferromagnetic materials.
- Dye Penetrant Testing (DPT): Identifies surface-breaking defects.
- Ultrasonic Testing (UT): May detect internal discontinuities where the component and inspection procedure are suitable.
Testing should be performed by qualified personnel using approved procedures.
Common Causes of Marine Engine Connecting Rod Failure
Connecting rod failures can result from several mechanical and operational problems.
Lubrication Failure
Insufficient lubrication is a major cause of connecting rod bearing damage.
Low oil pressure, contaminated lubricating oil, or blocked oil passages can cause excessive friction, overheating, and bearing seizure.
Excessive Mechanical Loading
Abnormal combustion pressures, liquid entering a cylinder, or mechanical seizure can expose connecting rods to excessive forces.
These conditions may cause bending, cracking, or permanent deformation.
Bearing Wear
Worn or incorrectly installed bearings can affect load distribution and lubrication.
If bearing problems remain unresolved, they may damage the crankpin and connecting rod assembly.
Connecting Rod Bolt Failure
Connecting rod bolts maintain the clamping force of the big-end assembly.
Incorrect tightening, fatigue, corrosion, or reuse beyond permitted limits can result in bolt failure and severe engine damage.
Material Fatigue
Repeated mechanical loading can contribute to fatigue cracking, particularly where stress concentrations, corrosion, or existing defects are present.
Routine inspection helps identify potential problems before complete failure occurs.
Marine Engine Connecting Rod Replacement Procedure
Marine engine connecting rod replacement requires careful dismantling, accurate measurements, and correct installation.
The procedure varies between engine models, particularly between trunk-piston and crosshead engines.
The following steps provide a general overview rather than an engine-specific maintenance procedure.
Step 1: Engine Preparation
Stop the engine and follow the required isolation and lockout procedures.
Ensure the engine is safe for maintenance, review the manufacturer’s instructions, and prepare suitable lifting equipment and measuring instruments.
Step 2: Remove the Connecting Rod
Remove the connecting rod assembly according to the engine manufacturer’s dismantling procedure.
Depending on the engine design, removal may involve the piston assembly, big-end bearing cap, or crosshead components.
Protect crankshaft journals and precision-machined surfaces during handling.
Step 3: Inspect Related Components
Before installing a replacement connecting rod, inspect the crankpin, bearings, piston pin, lubrication passages, and associated components.
Any underlying problem responsible for the original failure must be corrected.
Step 4: Verify the Replacement Rod
Confirm that the replacement connecting rod matches the engine specifications.
Check the OEM part number, dimensions, design revision, bearing arrangement, and component condition.
Used or reconditioned connecting rods should have suitable inspection documentation.
Step 5: Install the Connecting Rod
Install the replacement component using the manufacturer’s specified procedure.
Ensure correct orientation, bearing installation, lubrication, and fastener tightening.
Connecting rod bolts must be tightened using the approved method and specifications.
Step 6: Check Clearances and Alignment
After installation, verify the required bearing clearances, alignment, and mechanical movement.
All measurements must remain within the manufacturer’s permissible limits.
Step 7: Reassemble and Test
Complete engine reassembly and perform the prescribed pre-start checks.
After restarting, monitor lubricating oil pressure, temperature, vibration, and abnormal mechanical noise.
Follow any additional running-in or post-maintenance inspection requirements specified by the manufacturer.
How to Select the Correct Marine Engine Connecting Rod
Choosing the correct replacement connecting rod is essential for engine reliability.
Marine engine manufacturers use different connecting rod designs, even across engines within the same product family.
When sourcing a replacement, verify:
- Engine Manufacturer: Identify the original engine maker.
- Engine Model: Confirm the complete model designation.
- OEM Part Number: Match the applicable original part reference.
- Technical Specifications: Verify dimensions and bearing configuration.
- Component Condition: Confirm whether the rod is new, used, or reconditioned.
- Inspection Documentation: Request relevant inspection and testing records.
Used marine engine connecting rods may be available from dismantled marine engines. However, their suitability must be established through proper identification, inspection, and compatibility verification.
Marine engine connecting rods are designed for specific engine models, making accurate part identification particularly important. For instance, the Yanmar T240 connecting rod provides an example of a component identified by both engine model and part reference. When sourcing marine engine spare parts, matching these details with the manufacturer’s technical documentation helps prevent compatibility issues during installation.
Preventive Maintenance Tips
Proper maintenance helps extend connecting rod and bearing service life.
Marine engineers should:
- Maintain lubricating oil pressure and cleanliness.
- Monitor engine vibration and abnormal mechanical noise.
- Inspect connecting rod bearings during scheduled overhauls.
- Measure bearing clearances according to manufacturer specifications.
- Inspect connecting rod bolts and replace them when required.
- Investigate abnormal bearing temperatures or metallic debris.
- Maintain accurate inspection and replacement records.
Following the manufacturer’s maintenance schedule is essential for preventing unexpected mechanical failures.
Frequently Asked Questions
What is the function of a marine engine connecting rod?
A marine engine connecting rod transfers mechanical forces between the piston assembly and crankshaft, helping convert reciprocating piston movement into rotational motion.
What causes connecting rod failure in marine engines?
Common causes include lubrication failure, excessive mechanical loading, bearing damage, bolt failure, fatigue, and improper installation.
When should a marine engine connecting rod be replaced?
Replacement may be required when cracks, excessive deformation, severe overheating, or damage beyond approved repair limits are identified.
Can used marine engine connecting rods be reused?
Used connecting rods may be suitable if their condition, dimensions, compatibility, and inspection results meet the engine manufacturer’s requirements.
Conclusion
The marine engine connecting rod is an essential component that directly influences marine diesel engine performance and reliability. Regular inspection helps detect bearing wear, cracks, misalignment, and other mechanical problems before they result in serious engine damage.
When replacement becomes necessary, selecting the correct connecting rod and following manufacturer-approved installation procedures are critical.
Proper lubrication, scheduled inspections, accurate measurements, and quality replacement components help maintain reliable engine operation while reducing the risk of costly downtime.